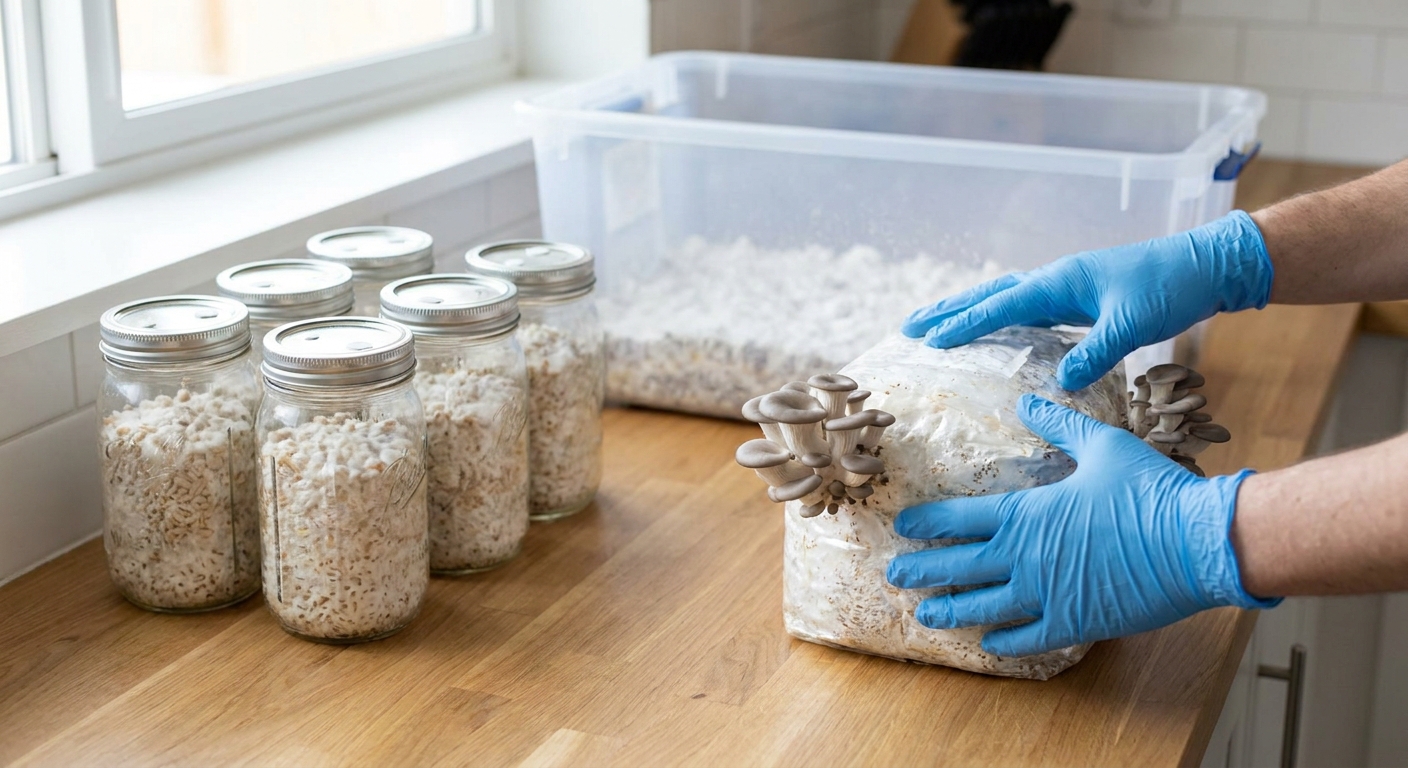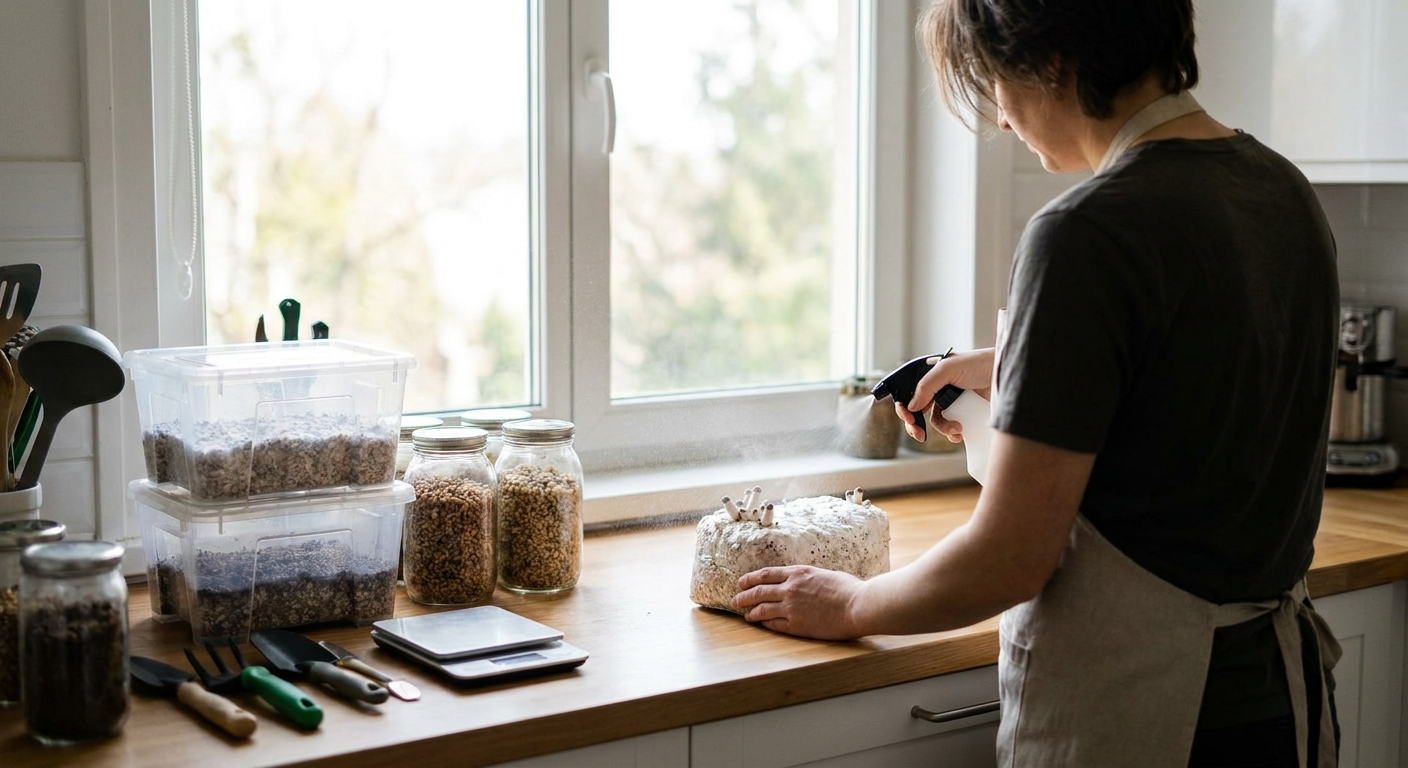
For home growers and serious hobbyists, substrate design is where most successes—and failures—begin. You can have clean spawn and great genetics, but if your substrate is too wet, too dry, too woody, or too dirty, you’ll fight contamination and weak yields.
Overview
This guide focuses on practical, lab-minded substrate work: moisture calibration, pasteurization vs. sterilization, species-specific tweaks, and realistic troubleshooting.
Substrate Fundamentals: What Your Mushrooms Actually Need
A substrate is more than "stuff for mycelium to eat." For consistent results, think in terms of four parameters:
- Nutrition – How much nitrogen, carbohydrates, and minerals are present.
- Structure – How well air and water move through the substrate.
- Water Availability – Field capacity and water activity (aw).
- Microbial Load – What other organisms are present before you inoculate.
Nutrient Level vs. Contamination Risk
- Low–Moderate nutrient (e.g., plain coir, straw, hardwood fuel pellets) is forgiving, lower yield per unit but low contamination risk.
- High nutrient (e.g., manure, supplemented sawdust, bran, soy hulls) can deliver excellent yields but demands tighter sterile technique.
Use this rule of thumb:
The more you supplement, the more sterile and precise your process must be.
Common Substrate Types by Species
1. Cubensis and Other Dung-Loving Species
Best for most home growers starting out.
Common bulk substrates:
- Coir + vermiculite (CV)
- Coir + vermiculite + gypsum (CVG)
- Coir + manure + vermiculite
- Hydration: Field capacity (a firm squeeze yields a few drops, not a stream)
- pH: Slightly neutral–basic (6.5–7.5) if manure present
- Treatment: Pasteurization is usually sufficient for coir-based; manure blends need proper pasteurization
Typical parameters:
2. Oyster Mushrooms (Pleurotus spp.)
Oysters are highly aggressive and tolerant.
Common substrates:
- Pasteurized straw (wheat, oat)
- Hardwood fuel pellets (HWFP) + water + gypsum
- Supplemented sawdust (with bran or soy hulls) — requires sterilization
- Oysters handle higher CO₂ and slightly wetter substrate than many species.
- Over-supplementation + poor sterilization = green mold explosion.
Notes:
3. Gourmet Wood Lovers (Shiitake, Lion’s Mane, Pioppino)
Typical substrates:
- Sterilized hardwood sawdust with 10–20% bran or soy hulls
- Occasional addition of small wood chips for structure
- High nutrition, so sterilization is mandatory.
- Tightly controlled moisture (usually 60–65% water by weight).
Parameters:
Moisture: Getting Field Capacity Right
Improper moisture is the quiet killer of many projects.
The Hand Squeeze Test
For fiber-based substrates (coir, straw, sawdust):
- Hydrate substrate fully.
Grab a fistful and squeeze hard:
- Too wet: Continuous stream of water; contamination likely. - Too dry: No drops at all and substrate doesn’t clump; poor colonization. - Just right (field capacity): A few drops expressed, and the ball holds shape but breaks apart with a poke.
For Wood-Based Blocks (By Weight)
If you want precision:
- Weigh dry sawdust mix.
- Multiply dry weight by 0.6–0.65 to calculate water to add.
- Example: 1 kg dry sawdust × 0.63 = 630 g water.
Mix thoroughly and let sit 30–60 minutes before loading bags so water equilibrates.
Pasteurization vs. Sterilization: Choosing the Right Approach
Pasteurization
Goal: Kill or reduce harmful organisms while preserving beneficial thermophilic microbes that "guard" the substrate.
Best for:
- Coir-based substrates
- Straw
- Manure/straw blends
Targets: 60–70°C (140–160°F) for 60–120 minutes.
Practical method (hot water pasteurization):
- Heat a large pot or drum of water to 70–75°C (158–167°F).
- Place substrate in a mesh bag or pillowcase.
- Submerge and maintain 60–70°C for 90 minutes. Monitor with a thermometer.
- Drain and cool in a clean area, covered with a clean towel or lid.
Sterilization
Goal: Kill virtually all organisms.
Best for:
- Grain spawn
- Supplemented sawdust (bran, soy hulls)
- Any high-nutrient substrate
- 15 PSI (121°C / 250°F) for 90–120 minutes depending on volume.
- Do not overload the pressure cooker; allow steam to circulate.
- Let pressure drop naturally; forced venting can crack bags or suck in contaminants.
Parameters:
Tips:
Step-by-Step: Coir/Vermiculite Substrate for Cubensis
This is a forgiving, lab-minded starting point.
Ingredients (for ~1 standard monotub)
- 650 g coir brick
- 2–3 L vermiculite
- 4.5–5 L boiling water
- Optional: 1 cup gypsum
Procedure
Prep container
- Use a clean tote or bucket with lid. - Wipe with 70% isopropyl alcohol.
Hydrate
- Add coir brick + vermiculite (+ gypsum) to container. - Pour in 4.5–5 L boiling water. - Close lid and let sit 45–60 minutes.
Mix and test
- Break up coir thoroughly. - Mix to even consistency. - Perform the hand squeeze test; adjust with small amounts of vermiculite (if too wet) or clean hot water (if too dry).
Cool
- Allow substrate to cool to room temperature (≤24°C / 75°F) before mixing with spawn.
Spawn ratio
- Target 1:2 to 1:3 (spawn:substrate by volume) for robust colonization.
Mixing
- Work in the cleanest area available. - Wear gloves, wipe with alcohol. - Break spawn into small pieces and mix evenly in the tote or liner; avoid big clumps.
Lab-Minded Sterile Technique for Substrate Handling
Substrate work isn’t as demanding as agar or grain transfers, but clean habits matter.
- Control air movement: Turn off fans and HVAC while spawning to bulk.
- Clean surfaces: Wipe down work area, tub rims, and tools with 70% iso.
- Personal hygiene: Tie back hair, wear a mask if you tend to talk while working, and avoid leaning directly over open substrate.
- Fast movements, minimal exposure: Plan your steps so lids are off for the shortest time possible.
- Only open bags in a still air box (SAB) or in front of a laminar flow hood.
- Flame-sterilize scissors or blades before cutting bag tops.
- Wipe external bag surfaces before bringing into the SAB/hood.
For sterilized supplemented sawdust:
Species-Specific Parameters and Tweaks
Cubensis (and similar dung lovers)
- Ideal substrate: Coir/verm, optionally with manure.
- Spawn ratio: 1:2–1:4.
- Temperature: 23–27°C (73–81°F) for colonization.
- Moisture: Field capacity; slightly drier surface during fruiting to avoid side-pinning.
Tip: Avoid over-manuring as a beginner. Start with CV or CVG before experimenting with manure.
Oysters
- Ideal substrate: Pasteurized straw or HWFP; optionally supplemented sawdust.
- Spawn ratio: 1:5–1:10 on straw; 1:4–1:5 on supplemented sawdust.
- Temperature:
- P. ostreatus: 20–26°C (68–79°F).
- P. columbinus (blue): 15–21°C (59–70°F).
Tip: Densely pack straw in columns or bags to avoid air pockets, which dry out and invite contamination.
Shiitake
- Ideal substrate: Sterilized hardwood sawdust + 10–20% bran.
- Spawn ratio: 1:5–1:8.
- Temperature: 21–24°C (70–75°F) for colonization, then cooler for fruiting.
Tip: Shiitake blocks need a full browning/"ripening" phase; don’t rush to fruit.
Honest Troubleshooting: Contamination & Weak Yields
Common Contaminants
- Green mold (Trichoderma): Powdery green; usually due to over-wet or under-pasteurized substrate, or slow colonization.
- Bacterial "wet spot": Sour odor, slimy patches, mycelium looks greasy or stalled.
- Black molds: Often from poor air quality or heavily contaminated environment.
What to Do When You See Contamination
- Localized spot in an otherwise healthy tub:
- In early stages, you can scoop out a small area + 1–2 cm margin. Flame-sterilize the spoon between cuts.
- Understand this is a band-aid; the tub may still fail.
- Widespread contamination, strong odor, or multiple points:
- Safest option is to bag, seal, and trash the substrate.
- Sterilize the container with hot soapy water + disinfectant before reuse.
Weak Yields / Small Fruits
Check these factors in order:
- Spawn quality: Old, bacterial, or weak spawn leads to small fruits.
- Spawn ratio: Extremely low spawn rates colonize slowly and allow competitor growth.
- Substrate depth: Thin layers (<5 cm) dry quickly and produce small flushes.
- Hydration: Too dry = small, cracked caps; too wet = aborts and contamination.
- Fresh air exchange (FAE): Stuffy tubs produce long stems, tiny caps.
Iterating Like a Lab
Approach substrate work as an iterative experiment:
- Change one variable at a time (hydration, supplementation, spawn ratio).
- Keep brief notes: date, recipe, treatment, species, yield estimate.
- When something works well, repeat it before changing more variables.
Substrate mastery comes from this cycle: design → execute cleanly → observe honestly → adjust. With a lab-minded approach and realistic expectations, home substrates can rival small commercial operations in consistency and yield.