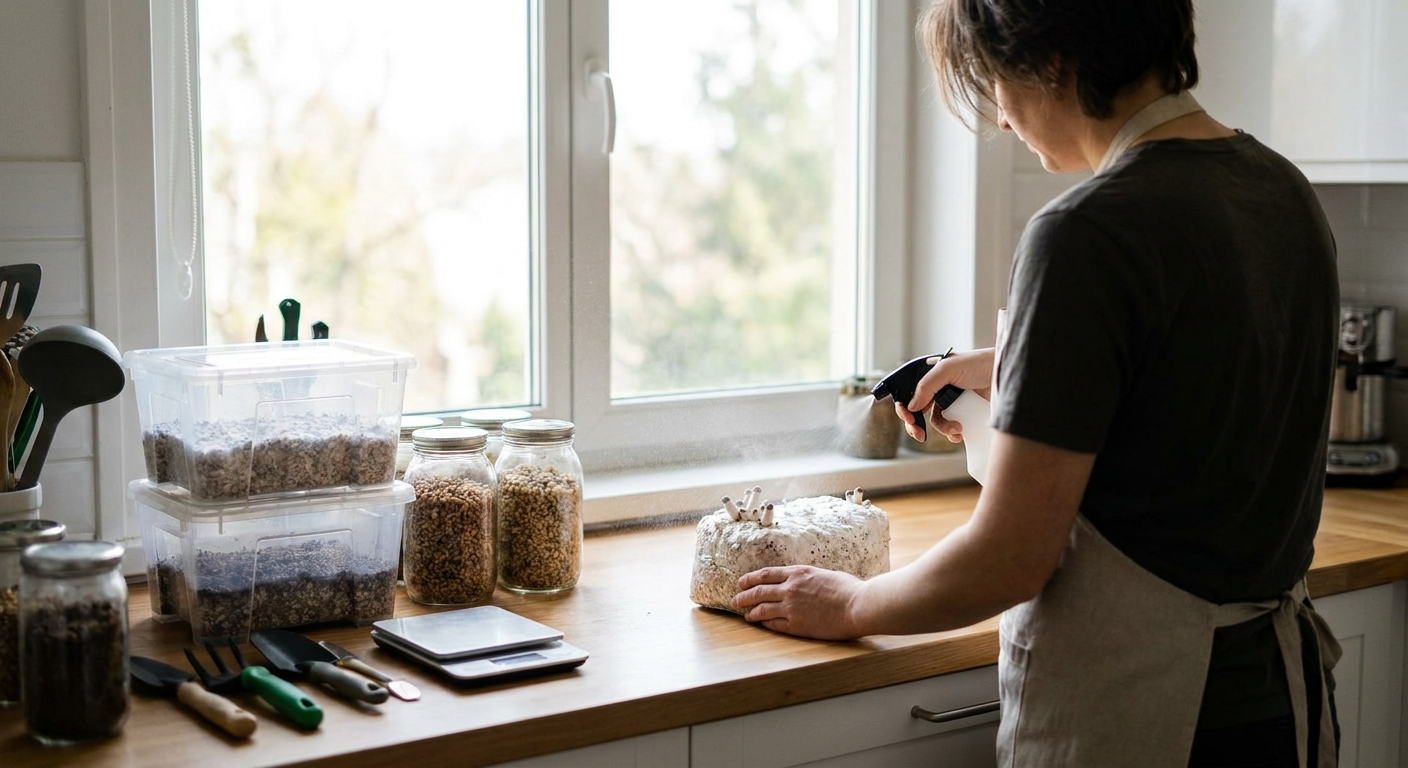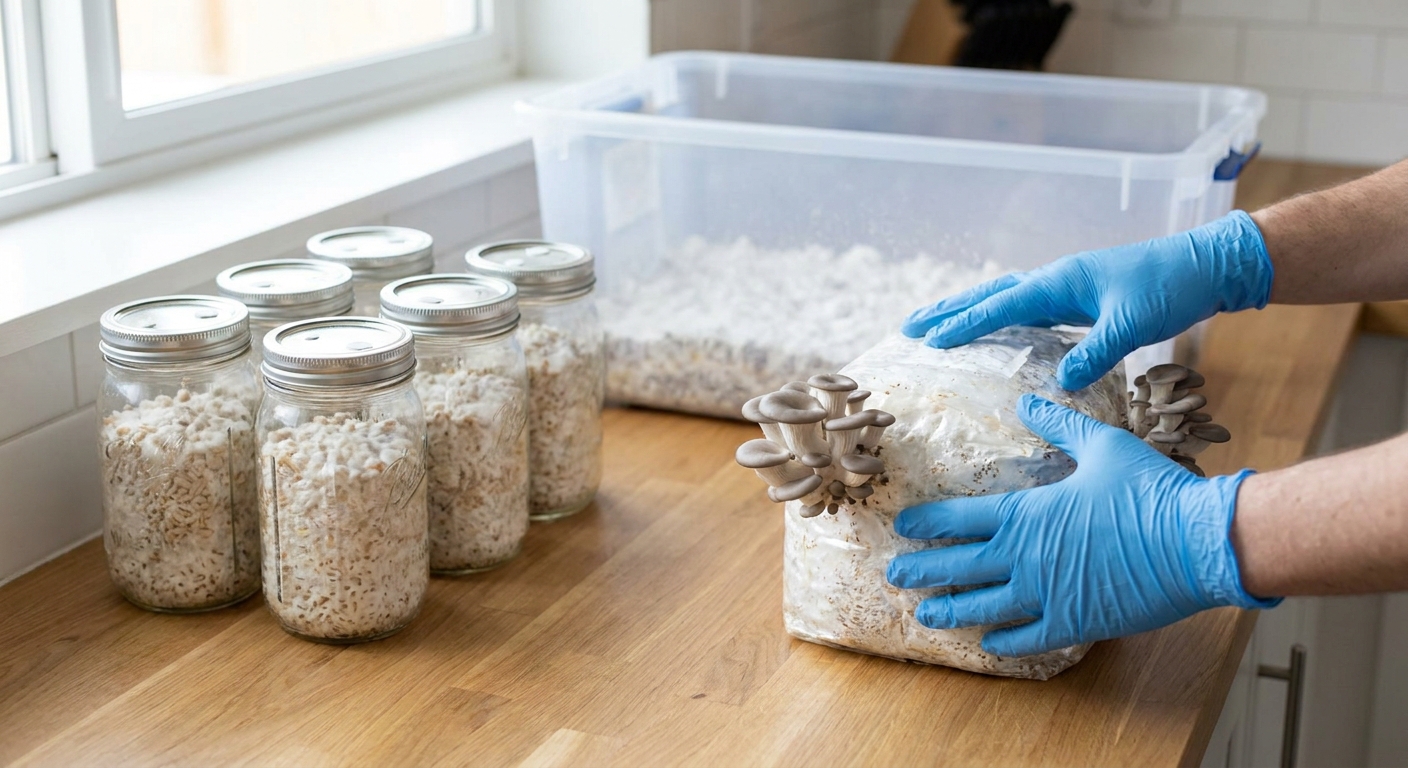
Spawn is the engine that drives your grow. Clean, vigorous spawn turns an average substrate into dense, reliable flushes; dirty or weak spawn will sabotage even the best recipe.
Why Spawn Workflow Matters
This article walks through a full spawn workflow—from culture to grain to bulk substrate—with a focus on sterile technique, species-specific decisions, and what to do when contamination appears.
Step 1: Choose the Right Grain for Your Goals
Different grains behave differently. Pick based on availability, performance, and how you like to work.
Common Grain Options
Wheat or Rye Berries
- Pros: Excellent water absorption, strong structural integrity, widely used in gourmet farms. - Cons: Can clump if not dried properly.
Millet
- Pros: Small kernels = increased inoculation points; very popular for fast-colonizing species like oysters. - Cons: Harder to judge hydration; more surface area for contamination if handled poorly.
Wild Bird Seed (WBS)
- Pros: Cheap and easy to find. - Cons: Inconsistent mixes; sunflower seeds and cracked corn can turn mushy.
Sorghum (Milo)
- Pros: Similar to millet, good for bulk production. - Cons: Slightly slower to hydrate, can burst if overcooked.
Lab-minded tip: Once you find a grain that hydrates well in your water and cooker, stick with it. Consistency helps you diagnose problems faster.
Step 2: Dialing In Grain Hydration
Under- or over-hydrated grain is a common root cause of contamination and slow colonization.
Basic Hydration Protocol (Rye/Wheat)
Rinse
- Rinse grain under running water until runoff is mostly clear.
Soak (12–18 hours)
- Cover with at least 5 cm of water above grain level. - Optional: Add 1–2 g gypsum per liter to reduce clumping. - Soaking hydrates the core and begins to wake up endospores, which will later be killed in sterilization.
Simmer (Optional but Recommended)
- Bring to a near boil, then reduce to a gentle simmer for 10–20 minutes. - Check grains frequently: when you can just squish a kernel between fingers but it still holds shape, you're done.
Drain and Steam-Dry
- Pour into a large colander or onto a clean screen. - Let steam escape 20–40 minutes. Shake occasionally. - Finished grain should look plump with no visible surface water when you scoop a handful.
Quick Test for Proper Hydration
- Drop a few grains on a paper towel.
- Wait 30 seconds.
- If they leave small, faint spots but not puddles, hydration is usually acceptable.
Step 3: Jar and Bag Loading
Jars
- Fill to ~2/3 volume to leave room for shaking.
- Use synthetic filter discs, polyfill, or micropore-taped SHIPs (self-healing injection ports) for gas exchange.
- Tighten lids, then back off slightly if using metal lids to prevent vacuum locking.
Bags
- Use proper autoclavable filter patch bags.
- Fill to a size you can comfortably move and mix later (typically 1.5–2.5 kg wet grain).
- Squeeze out extra air, flatten slightly, and fold the top over itself once or twice; secure with a fold or heat seal after sterilization depending on your method.
Step 4: Sterilization Parameters
For grain spawn, shortcutting sterilization is a direct path to contamination.
Standard parameters:
- 15 PSI (121°C / 250°F)
- 90–120 minutes depending on load and grain volume
- ≤1 L grain jars: 90 minutes usually sufficient.
- Large bags or densely packed cookers: lean toward 120 minutes.
Guidelines:
Allow pressure to drop naturally. Do not force-cool or open early; rapid pressure changes can burst grains and pull contaminants into partially sealed bags.
Step 5: Inoculating Grain Spawn Cleanly
Working Environment
For any non-liquid inoculation (agar wedges, grain-to-grain transfers):
- Best: Laminar flow hood.
- Acceptable for hobbyists: Still air box (SAB).
Avoid open-air grain work. The contamination rate will negate the time you "save."
Sterile Technique Checklist
- Clean work area, tools, and SAB/hood surfaces with 70% isopropyl.
- Wear gloves and a mask.
- Flame-sterilize scalpels and needles until red-hot.
- Let tools cool in sterile air (inside SAB or in front of hood) before touching culture.
- Minimize talking and movement over open jars.
Inoculation Methods
Agar to Grain (Gold standard for clean spawn)
- Open jar and plate in the sterile zone. - Cut 1–3 rice-grain-sized wedges of clean mycelium. - Drop them into multiple points in the jar, not all in one clump. - Close jar immediately and gently swirl once.
Grain-to-Grain (G2G)
- Only use very clean, vigorous donor jars. - Open both donor and receiver jars in the sterile zone. - Pour or spoon 10–20% donor grain into each receiver. - Close and shake to distribute.
Liquid Culture (LC) to Grain
- Shake LC vigorously to break up mycelium. - Flame-sterilize needle, cool, then inject 2–4 mL per quart jar. - LC must be proven clean (e.g., test jar) before scaling.
Step 6: Incubating Grain Spawn
General Conditions
- Temperature window (most species): 20–24°C (68–75°F).
- Avoid incubating above 27°C (80°F); contamination thrives in warmer conditions.
Species Examples
- Cubensis: 23–26°C (73–79°F) is fine; avoid going hotter.
- Oysters: 20–24°C; they colonize quickly, so cooler is often fine.
- Shiitake & Lion’s Mane: 20–23°C for reliable, steady growth.
Shaking Schedule
- Shake once at 20–30% colonization to distribute mycelium.
- Optional second shake at 70% for very aggressive species like oysters.
If jars stall for more than 5–7 days after shaking, suspect bacterial contamination or over-wet grain.
Step 7: Using Spawn with Bulk Substrates
Deciding Spawn Ratios
- Fast/aggressive (oysters, cubensis): 1:2–1:4 (spawn:substrate by volume).
- Slower or high-contam-risk substrates (shiitake, lion’s mane, supplemented sawdust): 1:4–1:8, but only if sterile technique is solid.
Higher spawn rate = faster colonization = fewer chances for contaminants to take hold.
Mixing Technique
- Prepare and cool your bulk substrate (pasteurized or sterilized as appropriate).
- Wipe your mixing area and containers with 70% iso.
- Break spawn into small, individual kernels.
- Layer spawn and substrate in the tub or bag, then mix thoroughly.
- Aim for even distribution; clumps of uncolonized substrate are contamination magnets.
Species-Specific Pairings
- Cubensis: Grain spawn → pasteurized CV or CVG in monotubs or trays.
- Oysters: Grain spawn → pasteurized straw or HWFP in bags or columns.
- Lion’s Mane: Grain spawn → sterilized supplemented sawdust bags.
- Shiitake: Grain spawn → sterilized hardwood sawdust/bran blocks.
Red Flags and Troubleshooting Spawn
Visual and Olfactory Cues
Healthy spawn:
- Even, dense white growth.
- Pleasant earthy or neutral smell.
- Wet, translucent, or greasy-looking grains: Often bacterial.
- Puffy or cotton-candy mycelium that never thickens: Could be stressed or contaminated.
- Uncolonized wet pockets: Poor shaking or over-hydration.
- Green patches (Trichoderma/molds).
- Black, blue-black, or fuzzy colored colonies.
- Sour, sweet, or rotten smells.
- Do not shake the jar; it spreads contamination.
- Do not spawn questionable jars to bulk—"maybe it's fine" usually becomes "tub failed."
Warning signs:
Obvious contamination:
When you detect these:
Bag and discard suspect spawn; saving a little grain is not worth losing your entire grow area to spores.
If Spawn Is Slow But Looks Clean
Check in order:
Temperature: Is it too cold or too warm?
2. Hydration: Over-dry grain yields wispy mycelium; over-wet = bacterial competition. 3. Inoculum age: Old agar or LC may be slow. 4. Spawn ratio (for G2G): Too little donor grain = slow colonization.
Adjust these variables on the next batch; don’t try to "fix" sluggish jars mid-run.
Species-Specific Spawn Behavior
Cubensis
- Colonizes grain rapidly when conditions are right.
- Very forgiving but still prone to bacterial issues from over-wet grain.
- Good for learning G2G and LC workflows.
Oysters
- Extremely fast; full colonization of quart jars in 7–10 days is common.
- Because of speed, they can occasionally "out-run" minor contamination—use this to your advantage but don’t rely on it.
Lion’s Mane
- Often appears thin and wispy at first.
- Takes longer to consolidate, especially on hardwood-based substrates.
- Needs very clean grain; bacterial spawn tends to stall completely.
Shiitake
- Moderate colonization speed.
- Often benefits from a consolidation phase after full colonization.
- Very sensitive to bacterial and mold contamination in high-nutrient substrates.
Clean Workflow Habits That Pay Off Long-Term
Segment your space
- Culture and grain work in the cleanest area. - Bulk mixing and fruiting in a separate room if possible.
Standardize your recipes
- Use the same grain prep, same sterilization cycle until it’s consistently successful. - Change only one parameter when troubleshooting.
Label everything
- Date, culture ID, grain type, and inoculation method on each jar or bag. - This lets you trace back what worked (and what failed).
Keep a short lab log
- A notebook or simple spreadsheet. - Note patterns: which culture contaminates more, which grain prep is more stable, etc.
Putting It All Together: A Sample Spawn Workflow
Example: Cubensis in Monotubs
- Start from agar to ensure a clean, vigorous culture.
- Prepare rye with soak + simmer + proper drying.
- Load and sterilize jars at 15 PSI for 90 minutes.
- Inoculate jars from agar in a SAB or flow hood.
- Incubate at ~24°C and shake once at ~30% colonization.
- Spawn to CVG at 1:2 or 1:3 once jars are fully colonized and visually clean.
- Monitor tubs for quick, even colonization; aim for 7–14 days before introducing full fruiting conditions.
By treating your spawn workflow like a controlled lab process, you transform home growing from a lottery into a repeatable craft. Clean spawn plus appropriate substrates is the core of that reliability—and once those two are solid, dialing in yields becomes straightforward fine-tuning instead of guesswork.