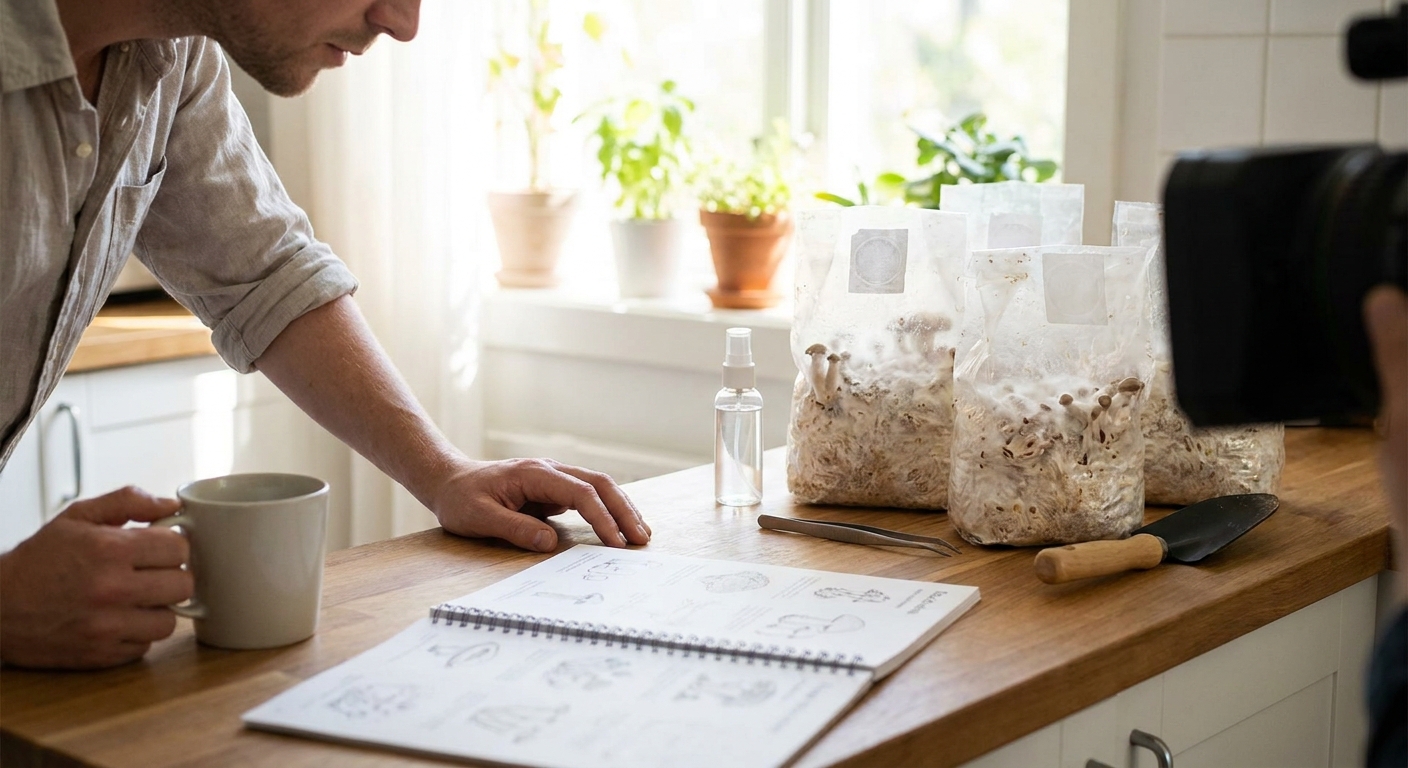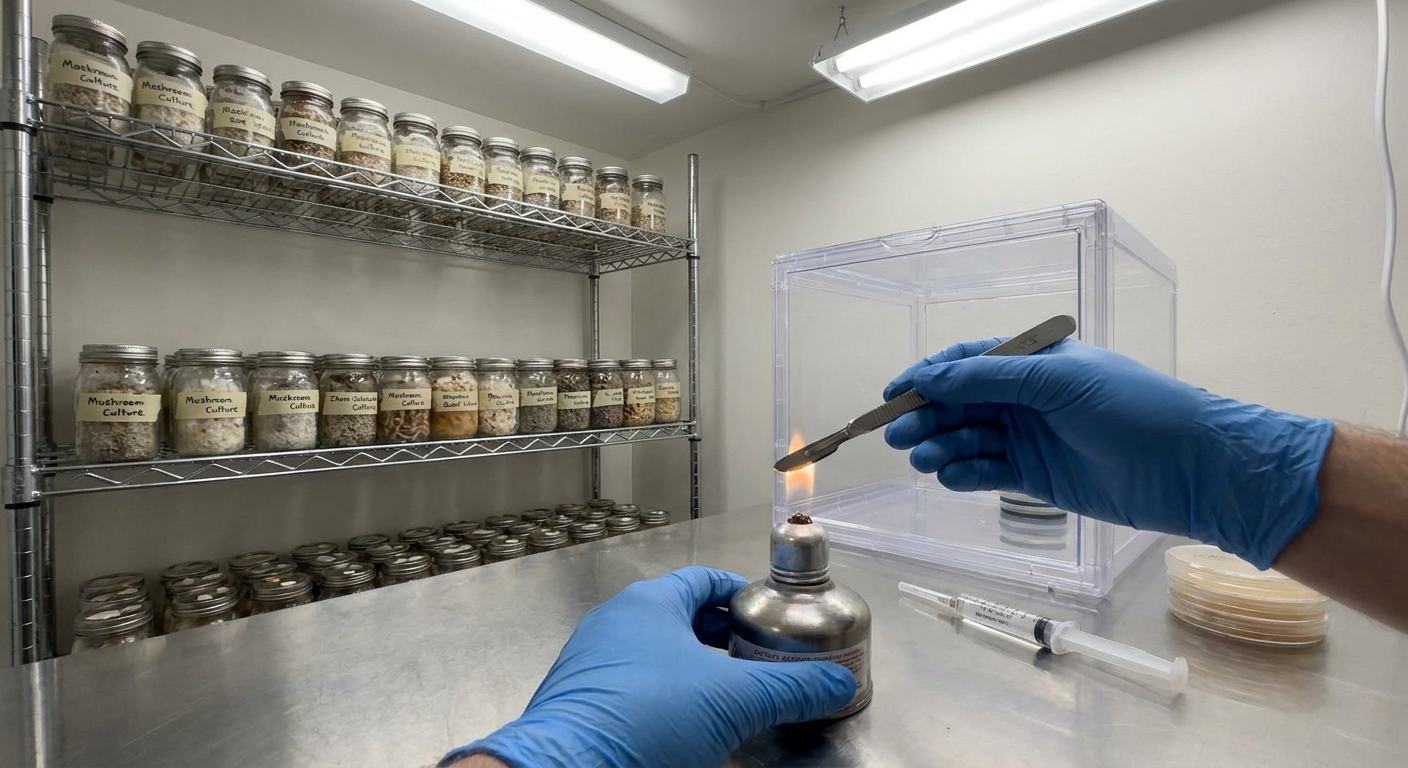
Most new growers focus on mushrooms; experienced growers focus on conditions. You can fruit impressive yields in a spare room with simple tools if you think like a lab worker: clean workflow, repeatable steps, and careful observation.
Why a “Lab” Mindset Matters More Than Fancy Gear
This article walks you through setting up a basic home mycology lab, from the table you clean on to the fruiting corner you harvest from. It’s designed for hobbyists who want reliable oysters, lion’s mane, or similar species without guessing their way through contamination and low yields.
Step 1: Define Your Zones
Treat your space in terms of zones, each with different sterility requirements.
Zone A: Dirty Zone (Storage & Fruiting)
- What happens here: Substrate storage, fruiting blocks or tubs, misting, and harvests.
- Cleanliness level: General household clean; no sterile work.
Typical setups:
- Shelving with plastic totes or monotubs.
- A humidification tent corner with a small ultrasonic humidifier on a timer.
- A bathroom or closet with a rack and a small fan circulating room air.
Zone B: Semi‑Clean Zone (Inoculation & Transfers)
- What happens here: Bags or jars are opened, spawn is added, liquid culture is injected.
- Cleanliness level: As dust‑free and still as you can reasonably make it.
This zone is critical; contamination almost always happens here. Use:
- A still air box (SAB) or clear tote for work involving open containers.
- Wiped surfaces, no fans, and minimal traffic during sterile sessions.
Zone C: Sterile Vessels Zone (Pressure Cooking)
- What happens here: Sterilization of grain and tools.
- Cleanliness level: Normal kitchen clean, but follow safe canning/pressure cooking practice.
Separating zones in your mind helps you respect the higher standards required when lids come off, while not overcomplicating fruiting, which can tolerate more environmental noise.
Step 2: Assemble a Minimal, Effective Gear List
You can grow a lot with a compact toolkit.
Core equipment
- Pressure cooker (PC): 15 psi; 10–23 qt is ideal. Required for grain sterilization.
- Still air box or tote: A clear plastic bin turned upside‑down with two armholes cut in the side is enough to start.
- Digital scale: For consistent substrate and supplementation ratios.
- Thermometer/hygrometer: Optional but highly recommended in your fruiting area.
Consumables
- 70% isopropyl alcohol.
- Nitrile gloves (optional but helpful).
- Paper towels.
- Micropore tape or breathable tape.
Reusable containers
- Quart jars with metal lids (for grain, liquid culture, or media).
- Filter patch bags or heavy‑duty freezer bags if starting with pre‑sterilized substrates.
- Buckets (5 gallon) for pasteurizing bulk substrates like straw or pellets.
Step 3: Grain Spawn—the Heart of Your Lab
Whether you buy or make it, grain spawn is your inoculation workhorse.
Option A: Buy commercial grain spawn
- Ideal for beginners and early experiments.
- Skip sterile work at first; focus on fruiting conditions.
- Once you can consistently fruit bought spawn, consider making your own.
Option B: Prepare your own grain spawn
A basic protocol for rye, wheat, or millet:
- Rinse grain until water runs mostly clear.
- Soak 12–18 hours in cool water (optional but helps hydrate evenly).
- Simmer 10–20 minutes until kernels are fully hydrated but not bursting.
- Drain thoroughly for at least 30 minutes. Spread on a screen or towel so surface moisture evaporates.
- Load jars or bags about 2/3 full.
- Cover with lids fitted with a small hole and filter (synthetic filter disc, polyfill, or thick micropore tape).
- Pressure cook at 15 psi for 90–120 minutes (longer for big bags).
- Let cool to room temperature inside the cooker overnight.
Inoculation (with liquid culture)
Inside your SAB or cleaned work area:
- Wipe everything—hands/gloves, jar lids, LC syringe—with alcohol.
- Flame sterilize the needle until red‑hot; let it cool (or flame and inject through a self‑healing port).
- Inject 1–2 mL LC per quart jar, preferably through a septum or pre‑made injection port to avoid fully opening jars.
- Shake gently to distribute.
Incubate inoculated grain at 20–24°C (68–75°F). Shake once around 30–40% colonization to spread mycelium and reduce uncolonized pockets.
Healthy grain spawn is bright white, evenly colonized, with no off‑colors or wet/sour patches.
Step 4: Substrate Recipes for Two Beginner Species
We’ll focus on reliable, scalable substrates for:
- Oysters (Pleurotus ostreatus / Pulmonarius)
- Lion’s mane (Hericium erinaceus)
Oysters: Pasteurized straw or pellets
Low‑tech straw recipe
- 100% chopped straw.
- Hydrated using hot‑water pasteurization: 65–70°C (149–158°F) for 1–2 hours.
- Drain to field capacity (firm squeeze = a few drops).
Spawn rate: 5–10% of wet substrate weight.
Pellet recipe (easier to handle)
- 1 part hardwood fuel pellets.
- 1.5–1.8 parts hot water by weight.
- Optional: 5–10% wheat bran (if you can sterilize; otherwise skip at first).
Hydrate pellets with hot water in a bucket until they fluff into sawdust. Cool, adjust moisture, mix in spawn, and pack in bags or buckets.
Lion’s mane: Supplemented sawdust block
Lion’s mane prefers richer substrates but needs sterilization if bran is added.
Common mix:
- 80–90% hardwood sawdust or pellets.
- 10–20% wheat bran.
- Water to field capacity.
Steps:
- Mix dry ingredients thoroughly.
- Add water and mix again; field capacity is a firm squeeze with just a few drops.
- Load into filter patch bags (1–3 kg wet weight).
- Pressure cook at 15 psi for 2–3 hours, depending on bag size.
- Cool overnight, then inoculate with 10–15% grain spawn in your SAB.
Incubate at 20–23°C (68–73°F) until fully colonized (white, thick, somewhat dense). Lion’s mane may take 2–4 weeks depending on conditions.
Step 5: Fruiting Parameters You Can Actually Hit at Home
Oysters
- Fruiting temperature: 15–22°C (59–72°F), depending on strain.
- Humidity: 85–95% RH.
- Fresh air exchange (FAE): High; aim for multiple air exchanges per hour.
- Light: Indirect daylight or equivalent (500–1000 lux) for 8–12 h/day.
Practical home strategies:
- Use a tote with many 1/4" holes on all sides and lid; mist walls 2–3x/day and crack the lid for more FAE if stems get long.
- Or use an open shelf with a clear plastic curtain, plus a small ultrasonic humidifier on a cycle (e.g., 1–2 min every 10–15 min) and a small fan mixing room air.
Lion’s mane
- Fruiting temperature: 16–21°C (60–70°F).
- Humidity: 90–95% RH, especially for pinning.
- Fresh air: Moderate—too much dries and frays the spines; too little causes deformed blobs.
- Light: Similar to oysters; gentle indirect light.
A simple fruiting method is to cut an X‑shaped slit in the colonized bag and stand it in a humid environment (tent or tote). Do not mist the exposed fruit directly—mist the walls and surrounding air instead.
Step 6: Sterile Technique Habits That Actually Reduce Contamination
Perfect sterility is unrealistic at home, but consistent habits crush most contamination.
Core habits:
- Work from clean to dirty: Sterile jars and bags first; spent blocks and trash last.
- Minimize exposure time: Open containers only as long as absolutely necessary.
- Control air movement: No fans, open windows, or pets in the room during sterile work.
- Flame and wipe: Flame‑sterilize metal tools; wipe plastic and surfaces with 70% alcohol.
- One operation at a time: Don’t rush; slow, deliberate movements disturb less air.
In the SAB:
- Load everything into the box first. Let air settle 1–2 minutes.
- Move hands slowly to avoid drafts.
- Keep openings of jars or bags tilted downward where possible.
Step 7: Honest Troubleshooting—What Goes Wrong and Why
Problem 1: Green or black mold in jars or bags
Probable causes:
- Incomplete sterilization or pasteurization.
- Inoculating while substrate is still too warm (killing or stressing mycelium).
- Dirty LC or syringe.
Actions:
- Verify PC times and pressure; use a gauge if possible.
- Let sterilized substrates cool overnight inside the cooker.
- If multiple jars from one LC contaminate, suspect the LC; switch to a new, tested culture.
Problem 2: Wet, sour, or slimy grain
Probable causes:
- Over‑hydrated grain; not drained enough before PC.
- Endospores not killed (short PC cycles).
- Bacterial contamination from dirty workspace.
Actions:
- Rework grain prep: fully drain, then test by squeezing—kernels should be plump but not leaking.
- Increase cook time to the upper end (120 min at 15 psi for quart jars).
- Tighten SAB protocol and glove hygiene.
Problem 3: Small fruits or weak flushes
Probable causes:
- Under‑supplemented substrate (especially for lion’s mane).
- Low moisture or inconsistent humidity.
- Temperature at the edge of the species’ comfort zone.
Actions:
- For oysters: Increase spawn rate or try pellet + bran blocks once you’re comfortable sterilizing.
- Use a hygrometer and adjust misting or humidifier cycles.
- If room is too warm, choose a warm‑tolerant oyster strain rather than fight your climate.
Problem 4: Strange shapes (lion’s mane blobs, oysters with deformed caps)
Probable causes:
- CO₂ levels too high or too low.
- Localized dry spots or direct misting on primordia.
- Overly saturated environment for lion’s mane.
Actions:
- For lion’s mane blobs: Increase FAE slightly and reduce direct moisture; maintain high humidity via ambient air, not direct spraying.
- For oysters: Add more holes or fan more often; avoid misting directly on pins.
Step 8: Document Like a Lab, Grow Like a Pro
Keep a grow log—it doesn’t need to be fancy:
- Date of sterilization, inoculation, and first visible colonization.
- Room temperature and humidity ranges.
- Strain and supplier details.
- Any deviations (shaky PC pressure, forgetting a misting, etc.).
- Weight of each flush if you can.
This habit turns one‑off experiences into data. When things go well, you’ll know why. When they don’t, you’ll know what to change.
Final Thoughts: Start Controlled, Then Expand
Your first home mycology “lab” might be a kitchen table, a pressure cooker, and a plastic tote. That’s enough to learn the fundamentals:
- Clean, repeatable grain prep.
- Respect for sterile zones.
- Species‑specific fruiting parameters you can reliably hit.
Once you can routinely produce clean, vigorous oyster or lion’s mane flushes with this simple setup, you’re ready to add new species, experiment with different substrates, or invest in upgrades like a HEPA flow hood.
Start small, think like a lab worker, and let the mushrooms respond to the conditions you design.