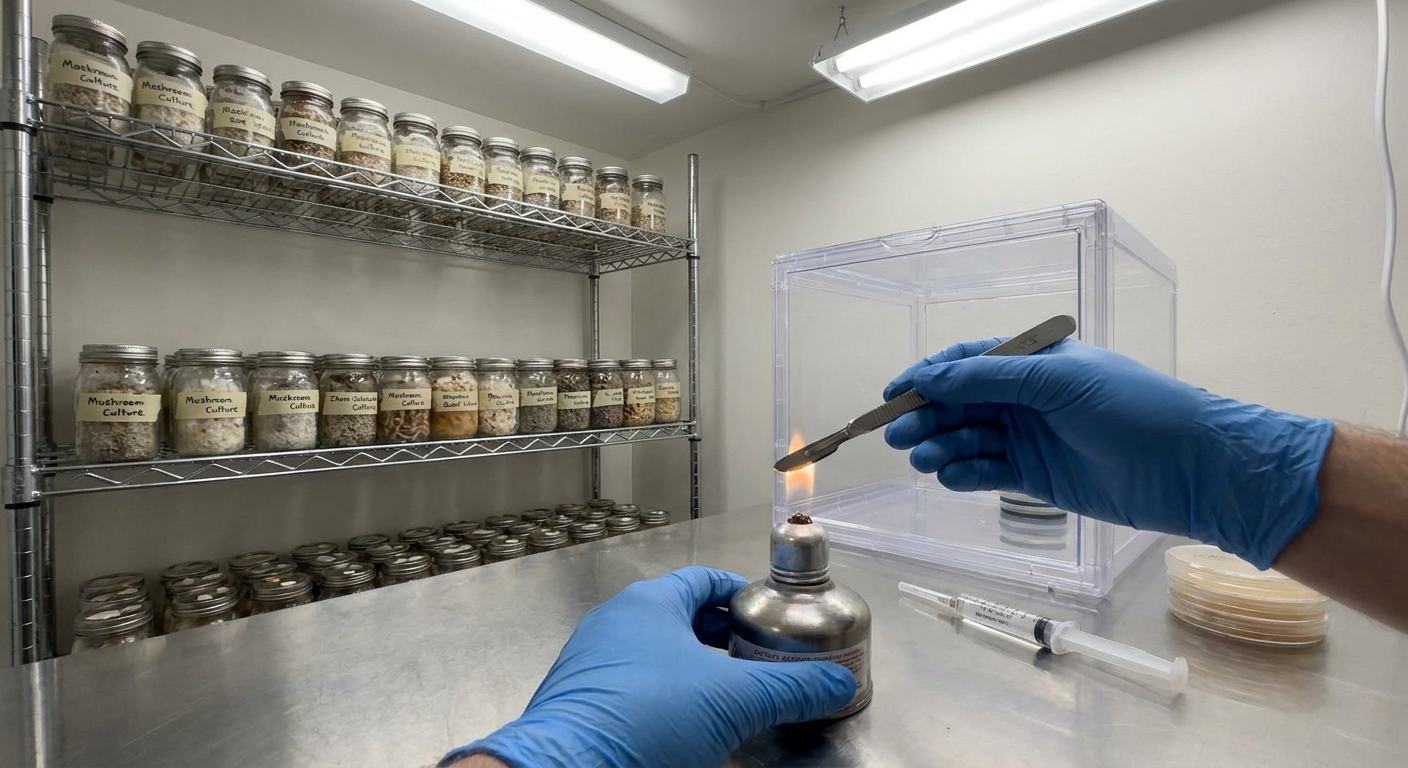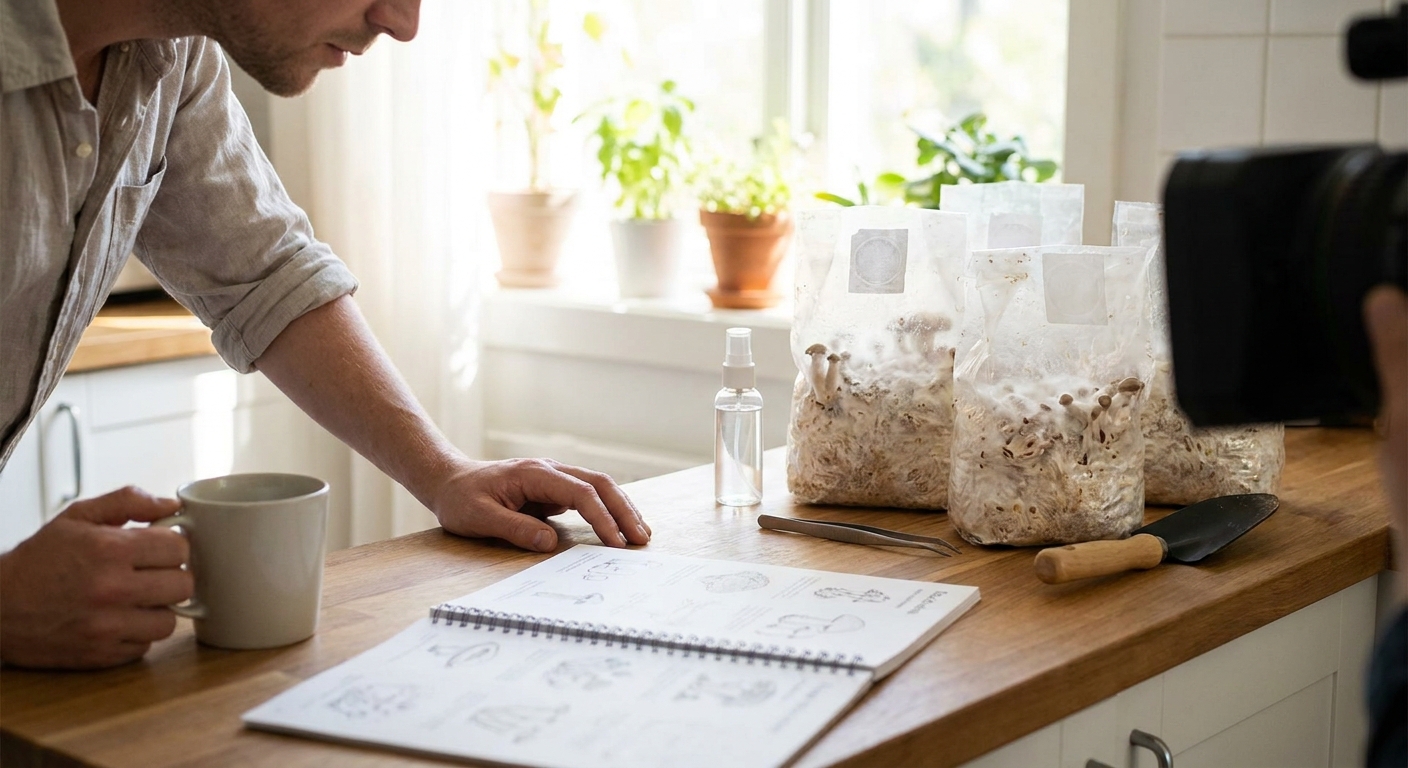
Getting started with home mushroom cultivation doesn’t require a lab degree or industrial equipment. It does require discipline, basic tools, and a willingness to troubleshoot. This guide walks you through a realistic, step‑by‑step path from first spore (or culture) to your first harvest, with a focus on practical sterile technique and species‑specific parameters.
Introduction: Start Simple, Start Clean
Step 1: Choose the Right Beginner Species
Resist the urge to grow everything at once. Start with one or two forgiving species:
Best first choices
- Oyster mushrooms (Pleurotus spp.)
- Why: Aggressive colonizers, competitive against contaminants, tolerant of imperfect conditions.
- Good strains: Blue oyster, pearl, elm oyster.
- Fruiting range: 10–24°C (50–75°F) depending on strain; high humidity (85–95%).
- Lion’s mane (Hericium erinaceus)
- Why: Gourmet, good yield on supplemented sawdust, moderately tolerant of beginners.
- Fruiting range: 16–22°C (60–72°F); high humidity (90–95%), low airflow at pinning.
- Avoid at first: Enoki, shiitake, reishi, and most medicinal wood-lovers are more particular, with longer colonization times and narrower parameters.
Pick one species, get one full grow from start to finish, then refine.
Step 2: Pick Your Starting Material (Spore, Liquid Culture, or Grain Spawn)
Easiest for beginners: Ready‑made grain spawn
- Grain spawn is sterilized grain fully colonized by your chosen mushroom.
- Pros: Skips sterile inoculation; you focus on bulk substrate and fruiting.
- Cons: Less control over genetics; you rely on supplier quality.
Intermediate: Liquid culture (LC)
- Sterile nutrient solution with suspended mycelium.
- Pros: Easy to inject, fast colonization.
- Cons: Invisible contamination risk; requires sterile technique.
Least beginner‑friendly: Spores
- Multi‑spore syringes or prints introduce genetic variability and higher contamination risk.
- Best reserved for when you’re ready to work with agar and isolation.
Recommendation: For your very first run, use commercial grain spawn of an oyster variety.
Step 3: Set Up a Basic “Kitchen Lab” Workflow
You don’t need a flow hood to start, but you do need structure.
Your clean workflow zone
- Choose a small room or corner with minimal airflow (bathroom, closet, or quiet kitchen corner).
- Turn off fans and AC. Close windows.
- Wipe surfaces with 70% isopropyl alcohol or dilute bleach (1:10).
- Let the room settle for 10–15 minutes before sterile work.
Personal prep
- Short sleeves or sleeves rolled up.
- Tie back hair.
- Wash hands thoroughly; optionally wear nitrile gloves.
- Wipe gloves and tools with 70% isopropyl alcohol before handling.
Tools worth having
- Pressure cooker (15 psi, 23 qt if possible).
- Digital thermometer/hygrometer.
- Spray bottle (for alcohol and/or soapy water).
- Scalpel or sharp knife (cleaned and wiped with alcohol).
- Clear totes or a basic still air box (for LC or agar later).
For initial grows using purchased grain spawn and pre‑made grow bags, your sterile work burden will be low; you’ll ramp it up as you move into making your own spawn.
Step 4: Prepare a Simple Bulk Substrate
For oysters, a low‑tech substrate is enough to get real yields.
Pasteurized bucket straw (or wood pellet) method
You’ll need:
- Chopped straw or hardwood fuel pellets.
- Bucket with a lid (5 gallons).
- Kettle or large pot for hot water.
- Thermometer (optional but helpful).
- Grain spawn.
Process (for oysters):
Hydrate substrate
- For pellets: Add hot tap water (60–70°C / 140–160°F) until pellets break down into fluffy sawdust. - For straw: Soak chopped straw in hot water at 65–70°C (149–158°F) for 1–2 hours. Weight the straw to keep it submerged.
Drain and cool
- Goal moisture: When squeezed firmly, only a few drops of water fall. If water pours out, it’s too wet.
Mix in spawn
- Work in your cleaned area. - Break up grain spawn into loose kernels. - Mix spawn with cooled substrate at 5–10% spawn rate by wet weight. More spawn = faster colonization, less contamination risk.
Bag it
- Load into filter patch bags, food‑grade plastic bags (with small holes poked later), or clean buckets with drilled side holes. - Compress gently to remove large air pockets but don’t crush completely.
Step 5: Incubation Parameters
General colonization targets
- Temperature: 20–24°C (68–75°F) for most oysters and lion’s mane.
- Light: Not required; room ambient is fine.
- Humidity: Bagged substrates self‑regulate; you don’t need high ambient humidity.
- Time: 10–21 days depending on species, spawn rate, and temperature.
What healthy colonization looks like
- White, even mycelial growth spreading from grain kernels through the substrate.
- Slight warming of the bag (mycelium generates heat).
- Substrate gradually turns mostly white.
Early signs of trouble
- Green patches: Trichoderma mold. Projects fail quickly; discard outside.
- Black, fuzzy spots: Often Aspergillus or other molds. Discard.
- Slimy, sour smell: Bacterial contamination. Discard.
- Wet "puddles" inside bag: Substrate was too wet; bacteria likely.
If a bag shows >10–20% visible contamination, don’t try to save it. Move it outside or seal and trash. Your time and clean space are more valuable than a compromised block.
Step 6: Fruiting Chamber Basics
Once your substrate is fully colonized (uniformly white, no bare patches), it’s time to fruit.
For oysters
- Fresh air: Very important. Stale air = long stems, small caps.
- Humidity: 85–95% RH ideal.
- Temperature: Aim for the middle of the strain’s range (often ~18–22°C / 64–72°F).
- Light: Indirect light (like a bright room) for 8–12 hours/day.
Simple fruiting setups:
Shotgun monotub style
- Plastic tote with many small holes drilled on all sides. - Place colonized bags or buckets inside. - Mist walls 2–3x/day and fan briefly after misting.
Humidity tent
- Large clear bag or plastic sheet tented over your blocks, with some air gaps at the bottom for gas exchange. - Mist the inside of the tent (not directly on pins) to keep humidity high.
For lion’s mane
- Needs high humidity (90–95%) and gentle air flow. Too much air = dry, hairy fruits; too little = wet, deformed blobs.
- Keep temperature on the cooler side (16–20°C / 60–68°F) if possible.
- Do not mist fruits directly; mist walls or use a humidifier.
Step 7: Harvesting and Handling
Oysters
- Harvest when caps are mostly flat but edges still slightly rolled.
- If caps turn upwards and drop heavy spores, you waited too long (edible but messier and slightly tougher).
- Grasp the cluster near the base and twist gently, or cut flush with a clean knife.
Lion’s mane
- Harvest when spines are well formed but not yet long and yellowing.
- If waterlogged or drooping, you’re running too wet.
Store in paper bags in the fridge, not sealed plastic. Use within a week for best quality.
Step 8: Honest Troubleshooting
Common issue 1: No pins forming
Likely causes:
- Insufficient fresh air.
- Too dry or too wet environment.
- Substrate not fully colonized.
What to try:
- Increase air exchange (more fanning, more holes in the tote).
- Adjust misting: Look for condensation on walls, not standing water on substrate.
- Wait 3–5 more days; immature blocks sometimes just need time.
Common issue 2: Long stems, tiny caps (oysters)
Cause: CO₂ too high, not enough fresh air.
Fix: Open chamber more often; add holes; use a small fan indirectly in the room (not pointed at fruits).
Common issue 3: Green mold during colonization
Causes:
- Dirty grain spawn.
- Substrate not properly pasteurized/sterilized.
- Too low spawn rate.
Fix:
- Change supplier or batch of spawn.
- Recheck your water temperature and soak time.
- Increase spawn rate to 10% for problematic substrates.
Common issue 4: Poor yields
Possible reasons:
- Low‑nutrient substrate (e.g., unsupplemented hardwood pellets for lion’s mane).
- Insufficient water in substrate.
- Stress from temperature or humidity swings.
Improvements:
- For oysters: Add 5–20% wheat bran to sawdust for stronger flushes (must be properly sterilized).
- Tighten your environmental control: use a hygrometer and thermometer instead of guessing.
Step 9: Plan Your Next Iteration
Treat each grow like an experiment. After your first full cycle, record:
- Species and strain.
- Substrate recipe and moisture level.
- Temperatures, humidity, and light conditions.
- Time to full colonization and first pins.
- Approx. yield (fresh weight) per block.
Note what worked and what didn’t. Change one variable at a time on your next run—more spawn, different substrate, tweaked humidity—so you can actually learn from the outcomes.
Conclusion: Lab Mindset at Home
Success in home mycology isn’t about expensive equipment; it’s about adopting a lab‑minded approach: control variables, document, and iterate. Start with a hardy species like oysters, use clean spawn, keep your process simple, and treat every setback as data.
Your first flush won’t look like a commercial grow. That’s fine. The goal with your first project is not perfection; it’s completion. Once you’ve gone from spore (or spawn) to supper, you’ll have the practical foundation to scale up, branch into new species, and slowly build a more sophisticated home lab if you choose.