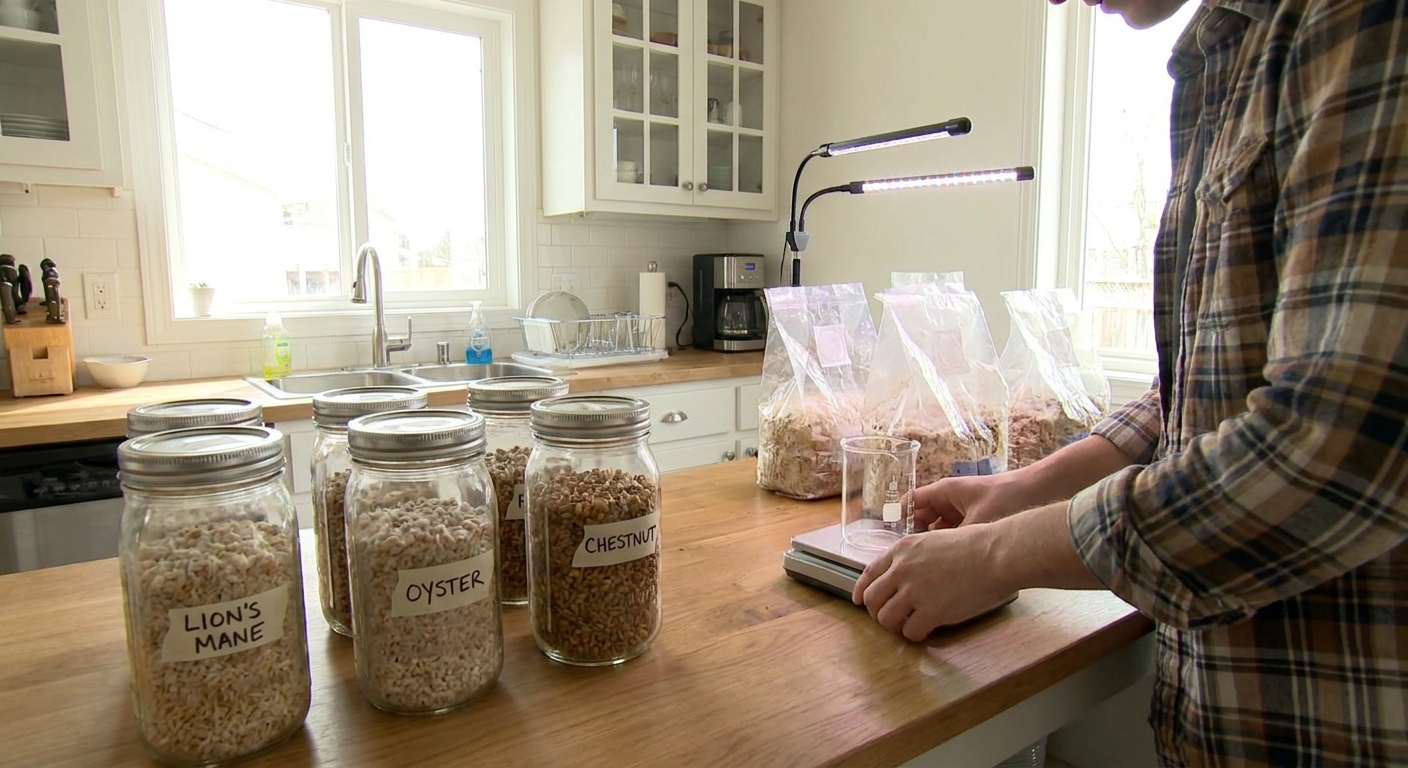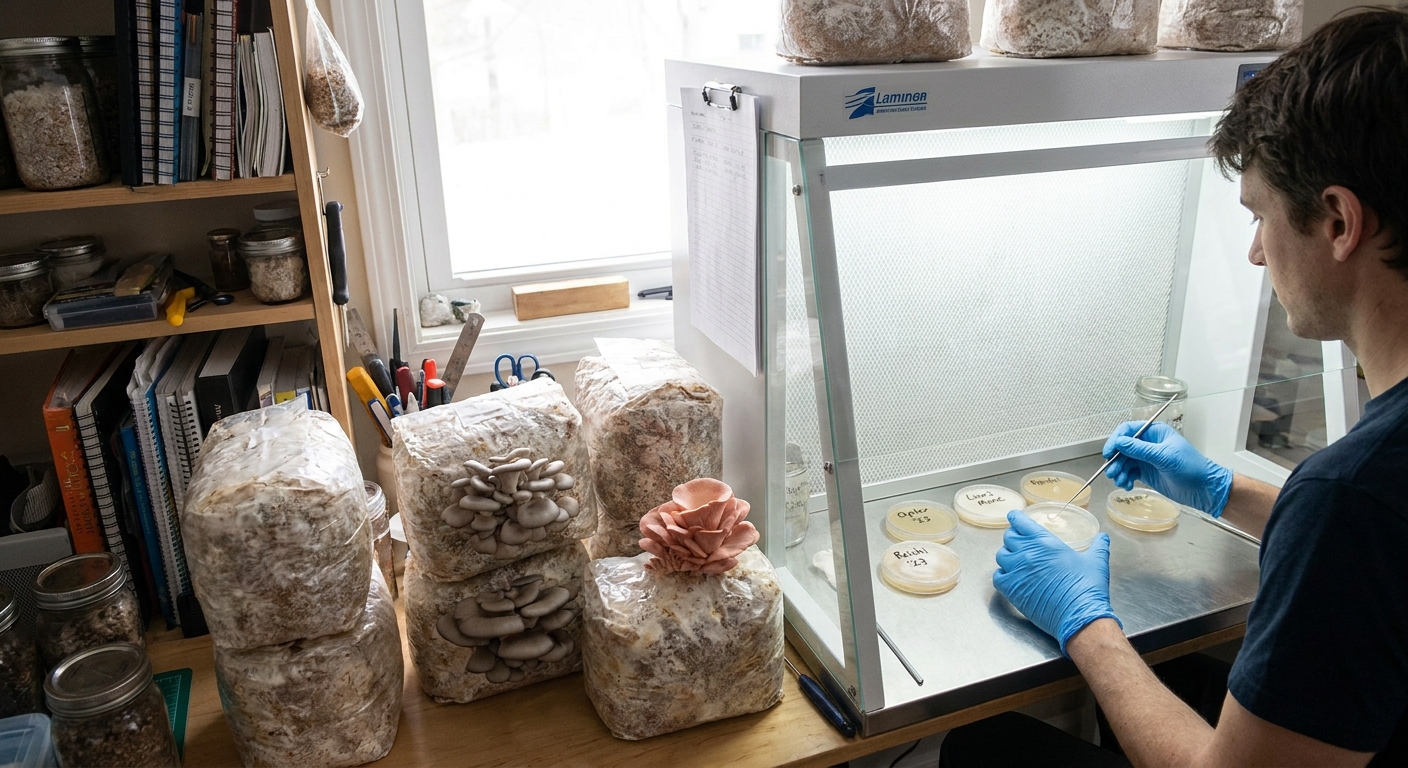
Running your gourmet mushroom projects with a lab mindset dramatically increases both success rate and yield. This guide walks through a full workflow—from culture isolation to your second flush—using shiitake, king oyster, and black pearl king as model gourmet species.
Why Treat Home Growing Like a Lab?
You’ll get:
- Step‑by‑step protocols
- Species‑specific parameters
- Practical sterile‑work habits
- Honest troubleshooting for contamination and low yields
You can adapt this framework to many other gourmet species once you understand the logic behind each step.
1. Start With Clean Culture: Agar as Your Quality Gate
1.1 Basic Agar Recipe (per 500 mL)
- 10 g light malt extract (LME)
- 8–10 g agar-agar powder
- 500 mL distilled or filtered water
Procedure:
- Mix ingredients and heat until fully dissolved.
- Pour into a media bottle or mason jar, cap loosely.
- Pressure cook at 15 PSI for 20–25 min.
- Cool to ~45–50°C before pouring plates in SAB or under flow hood.
Pour 15–20 mL per plate, allow to solidify, then wrap with parafilm or cling film.
1.2 Inoculating Agar Plates
You can inoculate with:
- Tissue from a store-bought mushroom (gourmet species only)
- A wedge from an existing culture
- A drop of liquid culture
Sterile steps:
- Disinfect SAB interior and tools with 70% iso.
- Flame sterilize scalpel; cool in sterile agar edge.
- Open plate just enough to insert tissue/wedge.
- Transfer; close plate quickly.
Incubate at 20–24°C (68–75°F). Look for rhizomorphic (ropey) or consistent mycelium growth.
Contamination cues:
- Fuzzy, uneven growth at multiple points
- Distinctly colored (green/black/orange/pink) colonies
- Oily or translucent bacterial zones
Transfer away from clean edges 1–3 times until you have a robust, uniform culture.
2. Grain Spawn: Scaling Up Clean Mycelium
2.1 Choosing Grain
- Rye berries: Balanced, common for shiitake and kings.
- Millet: Small grains, great for faster distribution in sawdust blocks.
- Wheat or oats: Workable, but oats break easier.
2.2 Grain Prep (per 1 kg dry grain)
- Rinse grain until water runs mostly clear.
- Soak 12–18 hours in cool water with optional pinch of gypsum.
- Simmer 10–20 minutes until grain is fully hydrated but not bursting.
- Drain and steam-dry on screen or colander 20–30 minutes.
- Load into jars or filter bags (2/3 full), add lid/filter.
- Pressure cook at 15 PSI for 90–120 min.
Let cool overnight to room temperature before inoculating.
2.3 Inoculating Grain
In SAB or under flow hood:
- Flame scalpel; cool tip in agar.
- Open jar/bag lid just enough to drop in 1–3 agar wedges per liter.
- Close, shake gently to distribute near surface.
Incubate at species‑appropriate temps (see later sections). Shake at 20–30% colonization and again if needed at 60–70%. Fully colonized grain should be white and sweet/mushroomy smelling—never sour.
3. Species 1: Shiitake (Lentinula edodes)
Shiitake is a classic wood‑lover with robust flavor and good shelf life. It requires more patience but rewards dialed‑in practice.
3.1 Substrate and Sterilization
Standard sawdust block (5–6 lb):
- 80% hardwood sawdust or fuel pellets
- 20% bran (wheat or rice)
- 60–65% moisture
Thoroughly mix, fill 0.2 µm filter bags, and sterilize at 15 PSI for 2.5–3 hours.
Cool to room temp, then inoculate with 10–20% grain spawn.
3.2 Incubation and Browning Phase
- Incubation temp: 21–24°C (70–75°F)
- Duration: 8–12 weeks total (colonization + browning)
Stages:
- Weeks 1–3: White colonization of the block.
- Weeks 4–8+: Surface begins to brown and harden—this is normal and necessary.
Do not force fruiting before a clear browning phase; premature fruiting leads to low yields and weak flushes.
3.3 Initiating Fruiting
Once blocks are fully browned:
- Cold shock for 24 hours at 2–5°C (35–41°F).
- Remove from bags or cut plastic off completely.
- Soak blocks in clean, cold water for 4–6 hours (weigh down to submerge).
Place in fruiting at:
- Temp: 13–18°C (55–64°F) - RH: 90–95% for pinning, then 85–90% for growth - FAE: Moderate to high - Light: Stronger than oysters; bright room light is fine.
3.4 Common Shiitake Problems
- No browning after 8+ weeks:
- Cause: Low nutrients, weak culture, or temps too low.
- Fix: Use a stronger/sharper culture; ensure incubation temps are ~22–24°C; slightly increase bran (<25%).
- Thin, leggy mushrooms:
- Cause: High CO₂ or too dark.
- Fix: Improve fresh air; increase light exposure.
- Dry, cracked caps:
- Cause: RH too low or fast humidity swings.
- Fix: Stabilize RH ~85–90%; avoid direct fan on caps.
4. Species 2: King Oyster (Pleurotus eryngii)
King oysters form thick stems and small caps, very meaty when cooked. They like cooler temps and respond strongly to CO₂ levels.
4.1 Substrate
Kings are more tolerant of supplementation than many oysters but still benefit from hardwood.
Recipe (per 5–6 lb block):
- 60–70% hardwood sawdust/pellets
- 20% bran
- 10–20% additional supplement (soy hulls, wheat middlings)
- 60–65% moisture
Sterilize at 15 PSI for 2.5–3 hours. Spawn at 15–20% grain.
4.2 Incubation and Fruiting Parameters
- Colonization temp: 20–22°C (68–72°F)
- Fruiting temp: 12–18°C (54–64°F)
- RH: 90–95% pinning, then 85–90% growing
- Light: Moderate
- CO₂: Moderate—kings tolerate higher levels than other oysters, which is key for shaping.
4.3 Technique: Shaping the King
Kings can be fruited in two main styles:
1) Thick stems, small caps (premium texture):
- Keep some plastic on block to lightly restrict FAE.
- Only expose a small top area (open the bag at top, roll down).
- Maintain slightly higher CO₂ (less aggressive ventilation).
2) More traditional cap shape:
- Cut multiple side slits.
- Increase fresh air similar to regular oysters.
4.4 Common King Oyster Problems
- Thin stems, overly large caps (like regular oysters):
- Cause: Too much fresh air.
- Fix: Reduce FAE; partially close bag or decrease fan strength.
- Brown, shrunken primordia:
- Cause: Low RH or direct air stream.
- Fix: Increase humidity; diffuse airflow.
- Bacterial blotch (wet, slimy spots):
- Cause: Water sitting on caps at low airflow.
- Fix: Mist less directly; increase gentle air movement; drop RH a few percent.
5. Species 3: Black Pearl King (Pleurotus hybrid)
Black Pearl Kings combine oyster vigor with a denser texture. They’re more forgiving than king oysters and an excellent step‑up from standard oysters.
5.1 Substrate
They do well on classic “masters mix” style substrates.
Masters Mix‑Inspired (per 5–6 lb block):
- 50% hardwood fuel pellets
- 50% soy hulls (or 40% soy hulls + 10% bran)
- 60–65% moisture
Sterilize at 15 PSI for 2.5–3 hours and inoculate with 15–20% spawn.
5.2 Parameters
- Colonization: 20–24°C (68–75°F)
- Fruiting: 15–20°C (59–68°F)
- RH: 90–95% pinning, then 85–90%
- FAE: Moderate to high; similar to standard oysters
- Light: Moderate
5.3 Fruiting Technique
- Incubate until fully colonized and small knots appear inside bag.
- Cut 3–5 X‑shaped slits per bag.
- Place in fruiting with consistent humidity and airflow.
Harvest when caps are firm and still slightly curled under; over‑mature flushes drop heavy spores.
5.4 Frequent Issues
- Overly flat, wide clusters:
- Cause: Super high FAE.
- Fix: Slightly reduce venting; they still fruit but structure changes.
- Green mold at cut sites:
- Cause: Weak spawn or high contamination load in fruiting environment.
- Fix: Evaluate spawn; improve room filtration and cleanliness; avoid handling cut surfaces with bare hands.
6. Fruiting Chamber Design for Lab‑Minded Growers
You don’t need industrial tunnels, but you do need controlled variables.
6.1 Minimalistic Mono‑Tub Style Chamber
Suitable for 1–3 blocks.
- Large plastic tote with clear lid
- Holes for FAE stuffed with polyfill or micropore tape
- Ultrasonic humidifier feeding into tote via hose (optional)
Maintain RH with manual or timer‑based misting, monitor with a digital hygrometer. Fan or briefly open lid 2–4x/day for FAE.
6.2 Stand‑Alone Grow Tent
For scaling up:
- Small grow tent (60×60×120 cm or similar)
- Ultrasonic humidifier controlled by humidity controller
- Small fan on timer for FAE
- Hygrometer/thermometer
Keep cables and electronics outside humidity zone where possible. Periodically wipe interior with diluted bleach or alcohol.
7. Troubleshooting by Symptom (Cross‑Species)
7.1 Symptom: Slow Mycelial Growth on Grain
Likely causes:
- Low incubation temp
- Old culture or over‑transferred strain
- Excessively wet grain (bacterial competition)
Fixes:
- Check temps; aim for 20–24°C.
- Use younger agar cultures (1–3 weeks).
- Adjust grain hydration; grain should be plump but not bursting.
7.2 Symptom: Frequent Green Mold on Blocks
Likely causes:
- Incomplete sterilization or heavy contamination load
- Dirty or weak spawn
- Handling blocks in unclean area post‑sterilization
Fixes:
- Confirm pressure cooker reaches 15 PSI for full time.
- Tighten inoculation practices in SAB or hood.
- Audit your grain prep and agar cleanliness.
7.3 Symptom: Good Pins, Then Abortions
Likely causes:
- RH dropping below 85%
- CO₂ spikes (poor FAE)
- Physical damage from misting or handling
Fixes:
- Stabilize humidity and avoid big swings.
- Increase ventilation; small always‑on fan is better than occasional blasts.
- Mist gently above fruits, not directly onto them.
8. Building Repeatable Gourmet Workflows
To move from “occasionally successful” to “predictably productive,” treat each grow as an experiment:
- Standardize recipes for each species and log them.
- Record conditions: temps, RH, colonization times, first‑pin dates, and yields.
- Compare flushes: Did your second flush crash? Track soak times, block age, and environment.
- Adjust slowly: One variable change per project cycle.
Over a few cycles, you’ll have dialed‑in protocols for shiitake, king oyster, and black pearl king that you can replicate and scale.
With clean cultures, well‑prepared spawn, and species‑appropriate fruiting parameters, you can reliably turn petri dishes into gourmet plates from a home lab setup that fits on a single shelving unit.