Most growers obsess over spawn ratios and grain prep, then treat harvest as an afterthought. In practice, when and how you harvest strongly affects:
Why Harvest Technique Matters as Much as Fruiting
- Total yield across all flushes
- Substrate health and contamination risk
- Consistency of potency and texture
- How quickly the block rebounds
This article focuses on the harvest and between-flush phases, with specific timing cues, cutting strategies, and troubleshooting for popular gourmet and active species.
Understanding Flush Dynamics
A “flush” is a coordinated wave of fruiting where most mushrooms mature within a similar time window. Flush behavior is influenced by:
- Nutrient distribution in the substrate
- Water availability and evaporation rate
- Strain genetics and inoculation method (multi-spore vs. clone)
- Environmental stability before and during pinning
Typical Flush Patterns by Species
- Ps. cubensis:
- First flush is usually the heaviest.
- Second flush often has fewer but larger mushrooms.
- Third flush is lighter and more prone to contamination.
- Oyster (Pleurotus):
- Highly responsive to water and FAE.
- Flusher pattern can be less distinct; small “mini-flushes” can appear between major ones.
- Shiitake:
- Distinct cycles: soak → flush → rest → soak.
- Can produce multiple flushes over months.
Pre-Harvest Observation: Reading the Canopy
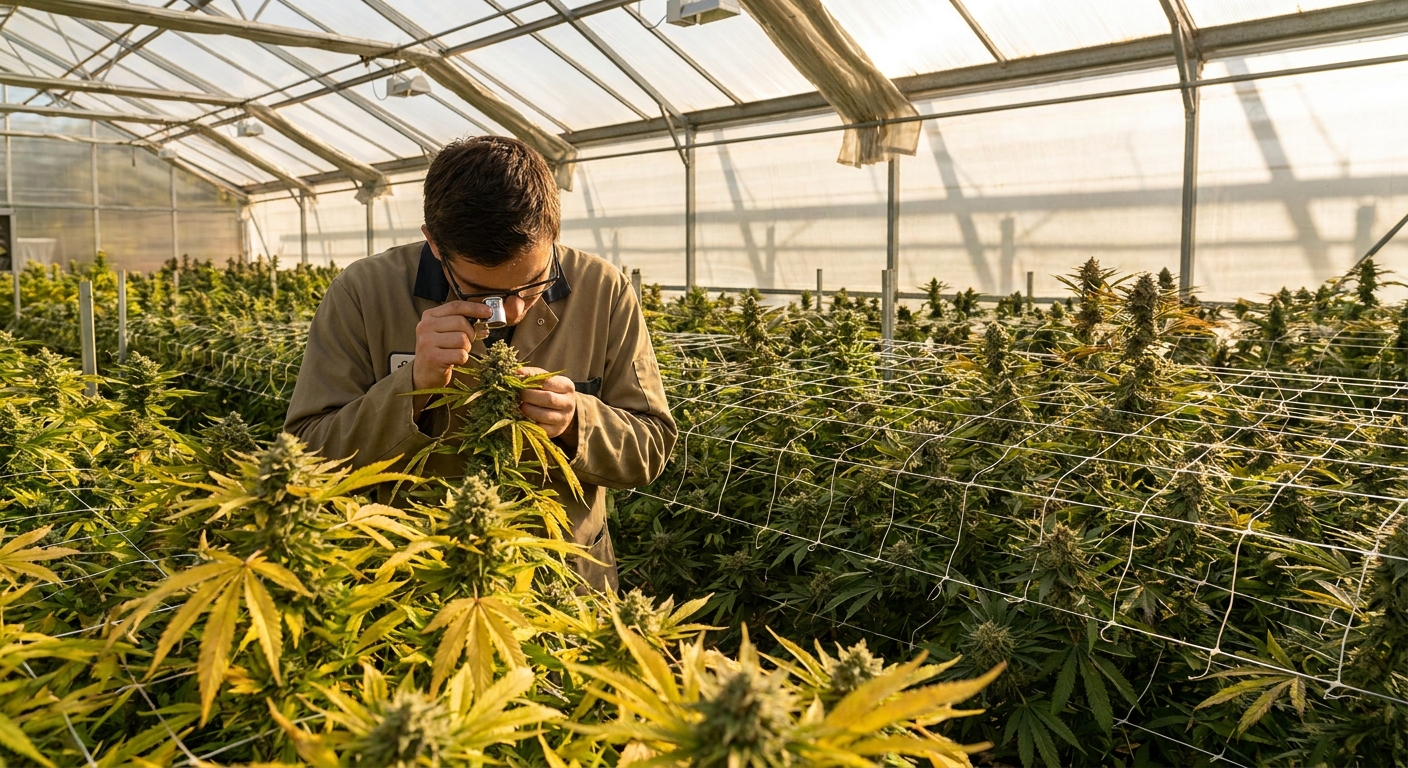
A lab-minded grower doesn’t just pick when “they look done.” Instead, assess systematically.
1. Cap Shape and Veil Integrity
Ps. cubensis:
- Look under the cap at the partial veil joining cap and stem.
- Harvest window: from first signs of veil stretching to just after it tears.
- Very early harvest (veil intact, cap still domed) gives small, firm fruits; late harvest (veil fully torn, flat cap) means heavier sporulation and potential substrate stress.
Oysters:
- Observe cap edges. Ideal harvest when edges are slightly in-rolled or just starting to flatten.
- Edges curving upward indicate you’ve overshot; texture and shelf-life drop.
Shiitake:
- Caps should be 70–80% open, edges still slightly rolled down.
- Gills fully exposed and edges flattening = late.
2. Color and Surface Texture
- Caps that darken and feel slimy can indicate excessive humidity or bacterial issues.
- Overly pale or cracked caps suggest dehydration.
3. Spore Deposition
Spore prints on caps, substrate, or tub walls mean you’ve waited too long.
- Cubensis: heavy spore drop can stain the substrate black/purple and encourage bacterial growth.
- Oysters & shiitake: heavy spore loads are mostly an air-quality and allergy concern, but they also mark past-peak maturity.
Use spore drop as an emergency cue, not your main timing method.
Sterile-Minded Harvest Protocol
Fruiting is not sterile, but you can still reduce microbial load with systematic habits.
Tools and Setup
- Nitrile or latex gloves
- 70% isopropyl alcohol in a spray bottle or on wipes
- A sharp stainless steel knife or scalpel
- Clean containers (lined with parchment or paper towels) for collected fruits
Pre-Harvest Preparation
- Clean the workspace: Wipe the external surfaces of tubs/bags and surrounding table with alcohol.
- Personal prep: Wash hands, put on gloves, spray/wipe gloves with alcohol.
- Tool prep: Wipe blade with alcohol between different tubs/blocks.
This won’t give you surgical sterility, but it cuts down on cross-contamination between units.
Harvest Techniques: Twist vs. Cut vs. Cluster Removal
Ps. cubensis
You want to remove fruit bodies cleanly at the base while minimizing damage to the surrounding mycelial mat.
Method A: Twist-and-Pull (for whole clusters)
- Grip the cluster low, near the surface.
- Twist gently while lifting upward.
- Remove the entire cluster in one movement.
- Trim off any dirty base tissue with a clean knife.
Pros:
- Fast, minimal leftover stumps.
- Risk of tearing surface if you pull too aggressively.
Cons:
Method B: Precision Cutting (for dense canopies)
- Use a sharp blade to cut each stem flush with the substrate.
- Take care not to gouge into the sub.
- Immediately remove stem bases and any loose tissue.
Pros:
- Very controlled, ideal for tightly packed canopies.
- Slower; must keep blade clean to avoid spreading contaminants.
Cons:
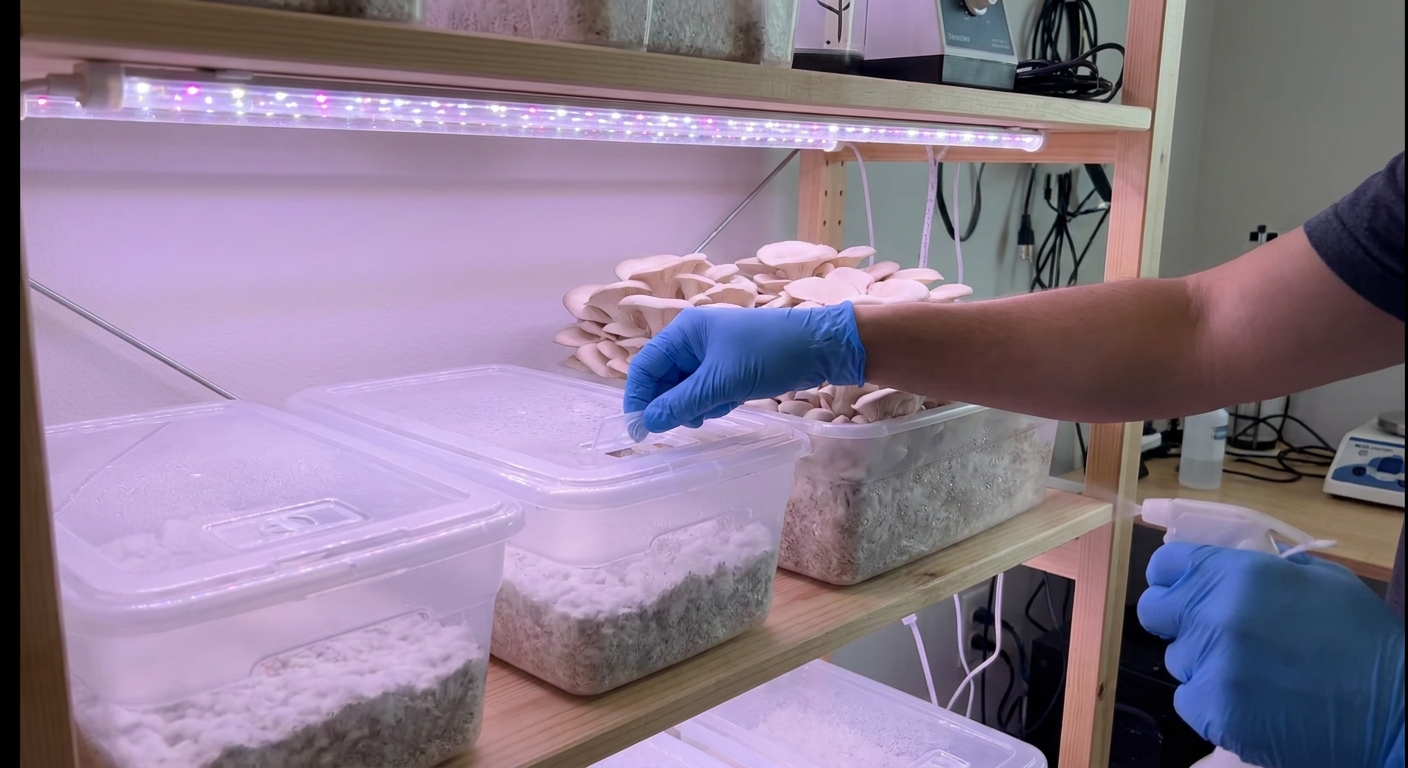
Oysters (Pleurotus)
Oysters usually form clustered bouquets.
- Grip the base of the bouquet.
- Cut across the cluster at the substrate interface.
- Trim off sawdust/straw and dirty bits away from the fruiting area.
Avoid tearing chunks of substrate free; fractured substrates dry out and contaminate faster.
Shiitake
Shiitake fruit more individually.
- Use a knife to cut stems close to the block.
- Avoid twisting: shiitake stems are tough and can rip chunks out of the rind.
- Remove any remaining stem nubs after each flush.
Post-Harvest Substrate Management
What you do in the 10–20 minutes after harvest heavily influences the next flush.
1. Immediate Cleanup
- Remove all aborts (tiny black-headed pins that stopped growing).
- Trim any mushy or discolored tissue left at the base of stems.
- Spot-check for green or odd-colored patches—mark suspect areas and monitor.
Leaving organic debris on the surface is equivalent to leaving a nutrient agar plate in the open.
2. Rehydration: Dunking vs. Misting
Ps. cubensis (Monotubs / Blocks)
- Weigh the tub before and after a flush if you want precise water tracking. A drop of ~5–10% mass often correlates with a needed rehydrate.
- Light flush or very wet surface: heavy misting is usually enough; avoid full dunk.
- Substrate pulled away from container walls, looks light and shrunken:
- Option A: Dunk in clean, cold water for 2–4 hours, using a clean plate to keep it submerged.
- Option B: Slowly pour water into the tub until substrate is partially submerged; hold 2–4 hours, then drain thoroughly.
Oyster and Shiitake Blocks
- Standard practice is a soak dunk:
- Use clean, cold water (optionally add 1–2 g/L salt for shiitake to discourage bacteria).
- Duration: 2–4 hours for oysters; 4–8 hours for shiitake.
- Drain thoroughly before returning to fruiting.
Never reuse dirty dunk water. It’s a microbial soup.
3. Rest Phase
After dunking:
- Let blocks drip and surface-dry for 30–90 minutes in a clean area. Surface should be moist but not dripping.
- Return to fruiting conditions with slightly reduced FAE for the first 12–24 hours to prevent over-drying the rehydrated surface.
- Then gradually ramp FAE back to pinning levels.
Contamination After Harvest: Spotting and Responding
The time between flushes is when contamination often emerges.
Visual Checks
- Trichoderma (green mold): starts as pure white, then turns bright green in sporulation stage. Often appears at damaged or overly wet areas.
- Cobweb mold: thin, wispy grey growth that spreads quickly across the surface.
- Bacterial slime: yellowish, translucent, or oily patches; sour smell.
Response Strategy
- Small, isolated areas (non-aggressive):
- Cut out a margin of substrate around the spot with a clean spoon or knife.
- Remove the material from your grow area.
- Increase FAE slightly and avoid over-misting.
- Multiple or fast-spreading patches:
- Retire the tub/block from your main grow space.
- Consider moving it to a separate room or disposing of it.
- Thoroughly clean your fruiting chamber before reloading with new projects.
Treat every contaminated unit as a spore source. Isolate early.
Yield Optimization: Practical Adjustments Between Flushes
Treat each flush as an experimental datapoint.
If First Flush Was Weak but Healthy
Possible causes and interventions:
- Under-colonized or under-consolidated substrate
- Next time, extend colonization by 3–7 days.
- Substrate too dry entering fruiting
- Increase field capacity slightly during prep; avoid over-supplementing with dry bulk.
- Insufficient FAE during pinning
- Loosen polyfill, create more vent area, or add a low-speed fan.
If First Flush Was Good but Second Crashed
- Overdunking: long soaks can invite bacteria. Reduce dunk time.
- Physical damage: aggressive harvesting tore the surface; next time, use sharper tools and more gentle technique.
- Contamination gained a foothold:
- Reassess cleaning protocol, glove use, and whether contaminated tubs were nearby.
Cluster Size Management
For cubensis and oysters, you can often influence cluster formation:
- High surface moisture + high FAE during pre-pin phase tends to promote dense pinsets.
- Once pins are set, shifting slightly toward drier, stable conditions encourages larger individual fruits.
Avoid constantly bouncing between extremes; stability over 3–5 day windows is key.
Data Logging Like a Lab Notebook
For serious home cultivators, treat every grow like a small experiment.
Record:
- Strain/variety and source (clone, culture, multi-spore).
- Substrate recipe (base, supplements, hydration).
- Colonization time and consolidation days.
- Environmental parameters during fruiting (temp, RH, light, approximate FAE).
- Harvest dates and weights per flush.
- Notes on contaminations, abort rates, cap shapes.
Over multiple runs, patterns emerge: ideal dunk times, best harvest day windows, and species/strain-specific quirks.
Safety and Handling Notes
- Respiratory protection: Heavy spore loads (especially oysters) can irritate lungs. Wear a mask when harvesting mature, spore-heavy crops or cleaning chambers.
- Food safety: For edibles, cool fruits quickly in a clean area, then refrigerate in breathable bags or paper. Avoid sealing warm mushrooms in airtight containers; that encourages bacterial growth.
- Potency consistency (actives): Harvesting within a narrow developmental window (e.g., just as veils begin to break) makes dose calibration more predictable across batches.
Putting It All Together
A precise, lab-minded harvest workflow looks like this:
- Observe cap shape, veil status, and canopy color daily.
- Prepare clean tools and containers before you start cutting.
- Harvest at the optimal developmental stage for your species, removing whole clusters cleanly.
- Clean the surface of aborts and debris immediately after picking.
- Rehydrate with calibrated dunking or misting based on visible dryness and experience.
- Rest and re-initiate fruiting with stable, logged environmental parameters.
- Review notes and adjust for the next cycle.
With this mindset, each flush becomes not just a harvest, but a controlled iteration that moves your home lab closer to commercial-level consistency.